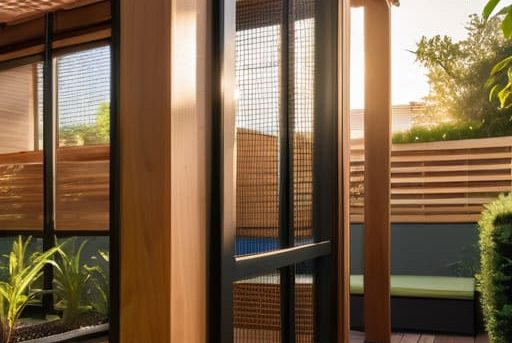
Most people think that if you want to know how to build a catio, you just need a few rolls of hardware cloth and a weekend of free time, but they’re ignoring the most expensive part: the structural integrity. I learned that the hard way when my senior tabby, Barnaby, decided to test the limits of a “budget-friendly” DIY enclosure I’d slapped together in my backyard. One heavy leap later, a flimsy corner gave way, and suddenly I wasn’t just looking at a broken latch; I was looking at a panicked, terrified cat and a repair bill that cost more than the original materials combined. If you don’t account for the weight of the cat and the wind resistance of the mesh, you aren’t building an enrichment space—you’re building a trap.
I’m not here to sell you on some Pinterest-perfect aesthetic that falls apart after one thunderstorm. In this guide, I’m going to walk you through the actual logistics of how to build a catio that stays put, including the precise costs for lumber, the specific gauge of wire you need so they can’t chew through it, and how to secure it to your home without ruining your siding. We’re going to talk about real measurements and real money, because I want your cat to have a view, not an escape route.
Table of Contents
- Step-by-Step Instructions
- The Essential Catio Materials List Dont Skimp on Security
- Choosing Safe Mesh for Cat Enclosures Why Cheap Fencing Fails
- Five Things the Hardware Store Won't Tell You About Cat Safety
- Three Things You Can’t Afford to Get Wrong
- The Cost of a Cheap Build
- The Bottom Line on Your Catio
- Frequently Asked Questions
Guide Overview
Tools & Supplies
- Drill/Driver for assembling frame and attaching mesh
- Measuring tape for precise cuts and layout
- Wire cutters for trimming hardware cloth
- Level to ensure the structure is stable and even
- Handsaw or Miter saw for cutting lumber
- Pressure-treated lumber (various lengths for frame)
- Hardware cloth/Metal mesh (rolls for enclosure)
- Galvanized screws (box for assembly)
- Heavy-duty staples (for securing mesh)
- Zip ties (for reinforcing mesh sections)
- Hinges and latch (for access door)
Step-by-Step Instructions
- 1. First, you need to pick your location and measure your footprint. Don’t just eye it up; grab a tape measure and a level. If you’re attaching this to your house, you need to account for the window clearance so you aren’t smashing your cat’s nose against the glass when they try to get in. I’ve seen people build beautiful structures only to realize they’ve blocked the very window they intended to use for access. Decide if this is a standalone structure or an extension of your home, because that dictates whether you’re dealing with a simple ground-level enclosure or something that requires structural anchoring to your siding.
- 2. Get your materials list together and go to the hardware store with a realistic budget. You’re going to want pressure-treated lumber for the frame if it’s touching the ground, or cedar if you want something that won’t rot and cost you a fortune in three years. For the mesh, skip the flimsy chicken wire; it’s useless against a determined cat and won’t stop a predator from reaching in. You want 16-gauge galvanized steel hardware cloth. It’s more expensive, but it’s the only thing that’s going to keep a raccoon from trying to play “grab the kitten” through the wire.
- 3. Build your base frame and floor. If this is sitting on dirt or grass, you’re asking for rot and parasites, so I highly recommend a solid foundation of pavers or a wooden platform. If you’re building on a deck, make sure your joists can handle the added weight of the lumber and the cats. I’ve seen more than one DIYer realize too late that their deck wasn’t rated for a heavy, enclosed structure, and nobody wants a catio—and a cat—crashing onto the patio below.
- 4. Assemble the wall panels and secure them to your frame. This is where the math matters. Measure twice, cut once, and for heaven’s sake, use galvanized screws so they don’t rust and bleed streaks down your nice siding. As you build the panels, staple the hardware cloth to the wood using heavy-duty fencing staples. Make sure there are no sharp wire ends poking through; I spent half my career pulling splinters and wire shards out of paws, and I don’t want your catio to be the reason your cat needs an emergency vet visit for a laceration.
- 5. Install the entry point—and I mean two of them. You need a way for you to get in to clean the litter box or scrub the floors, and you need a way for the cat to get in. A simple pet door or a window flap works, but make sure it’s securely weather-stripped. If there’s a gap, a mouse will find it, and if a mouse finds it, your cat is going to turn your new, expensive catio into a high-speed hunting ground that results in broken vases and midnight zoomies.
- 6. Add the “cat-level” features. A catio isn’t just a cage; it’s a room. You need verticality. Install some sturdy, wide shelves or even a few outdoor-rated perches at different heights. Don’t just screw a piece of plywood to the wall; use L-brackets that can actually support a ten-pound cat jumping at full speed. If the shelf wobbles when they land, they won’t use it, and you’ve wasted your money.
- 7. Final inspection and “The Shake Test.” Before you let your cat loose in there, go through every single inch of the structure with a pair of gloves on. Check for gaps where a paw could get stuck and ensure every piece of hardware cloth is pulled taut. Give the frame a good, firm shake. If it rattles or feels unstable, reinforce it now. It is much cheaper to buy an extra box of screws today than it is to deal with the heartbreak of a structural failure later.
The Essential Catio Materials List Dont Skimp on Security
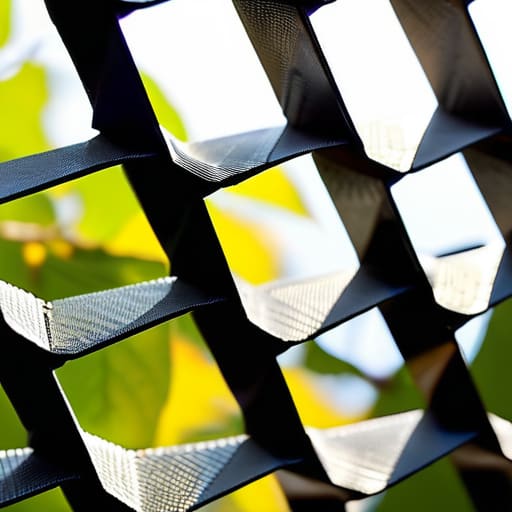
When you’re looking at a catio materials list, do not—under any circumstances—buy the cheap, flimsy chicken wire you see at the local hardware store. I’ve seen too many owners think they’re saving twenty bucks, only to realize three weeks later that a determined cat or a neighborhood raccoon has shredded the wire like wet paper. You need heavy-duty galvanized steel mesh. If you’re looking for the safe mesh for cat enclosures, look for something with a gauge thick enough that it won’t bend under pressure. If a cat can squeeze its head through a gap, it can get stuck, and a stuck cat in a structural gap is a veterinary emergency I’d rather not see on a Sunday night.
I also want to talk about the lumber. If you are doing weatherproof catio builds, don’t just grab the cheapest untreated pine and hope for the best. It will rot within two seasons, and once that wood starts to degrade, you’re creating splinters and structural instability. Invest in cedar or pressure-treated wood. It’s going to cost you more upfront, but it’s cheaper than rebuilding the entire frame because a rainstorm turned your project into a mushy, dangerous mess.
Choosing Safe Mesh for Cat Enclosures Why Cheap Fencing Fails
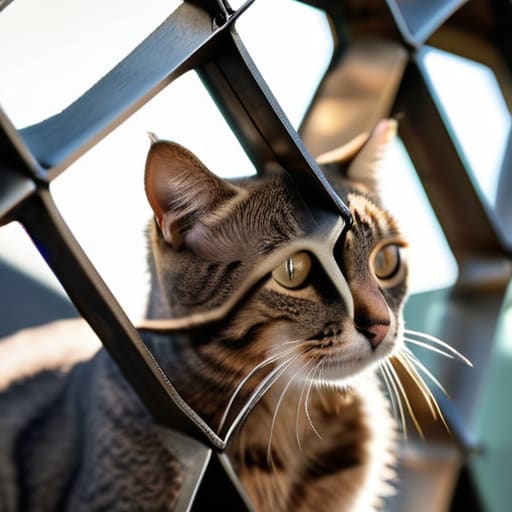
Look, I’ve seen enough “escape artists” end up in the emergency room because their owner tried to save fifty bucks on hardware store chicken wire. If you use thin, flimsy wire, you aren’t building a catio; you’re building a temporary cage that a determined tabby will shred or squeeze through in a heartbeat. You need to look for heavy-duty galvanized steel or stainless steel mesh. When you’re checking your catio materials list, don’t just look at the price tag—look at the gauge. If the wire is thin enough to bend easily with your thumb, it’s not going to hold a heavy cat during a frantic moment of curiosity.
When selecting safe mesh for cat enclosures, aim for a gauge that feels substantial. I always recommend a 14 or 16-gauge welded wire mesh with openings no larger than 1 inch by 1 inch. Anything larger and you’re asking for a head to get stuck or a paw to slip through, which is a fast track to a very expensive vet visit for a laceration. It’s about structural integrity and peace of mind. You want something that can withstand the elements and the claws without buckling.
Five Things the Hardware Store Won't Tell You About Cat Safety
- Check your floor plan for “blind spots.” I’ve seen plenty of beautiful enclosures that look great in photos but leave a cat with nowhere to hide if a neighbor’s dog starts barking or a hawk circles overhead. If they can’t get out of the line of sight, they won’t feel safe, and a stressed cat is a cat that will try to claw its way through your expensive mesh to escape.
- Don’t forget the verticality. A catio isn’t just a cage; it’s a territory. If you only provide floor space, you’re wasting the square footage you paid for. You need staggered shelving and climbing posts. In my experience, a cat’s sense of security is directly tied to how high they can get above the “ground level” chaos.
- Watch the weather, not just the sun. People spend a fortune on shade cloths and forget that a catio can become a literal oven in July or a wind tunnel in November. You need to account for airflow and thermal regulation. If you don’t have a way to block a heavy rain or a biting wind, your cat will spend the whole time huddled in a corner instead of actually enjoying the outdoors.
- Secure the “entry and exit” logic. I’ve seen too many people build a great structure only to realize they’ve created a trap. You need a double-door entry system—a small vestibule—if you are accessing this from a window or a door. If you just have one flap or one door, you’re going to have a very expensive, very fast breakout the moment you open it to refill the water bowl.
- Plan for the cleanup before you screw in the first board. You are going to be cleaning hair, dander, and the occasional “accident” out of this structure. If you use porous materials or build it in a way that makes it impossible to spray down with a hose or wipe with a disinfectant, you’re just building a giant, outdoor litter box that’s going to smell like a clinic within a month.
Three Things You Can’t Afford to Get Wrong
Don’t try to save money by using hardware cloth that’s too thin; if a determined cat can bend it, they will, and a broken mesh means a lost pet or a trip to the ER for a laceration.
Plan your footprint based on vertical space, not just floor space, because a cat’s instinct is to climb, and a cramped enclosure is just a cage, not a sanctuary.
Double-check every single fastener and joint during your build, because in my experience, it’s the small, overlooked gaps that lead to the most expensive and heartbreaking mistakes.
The Cost of a Cheap Build
“I’ve spent too many nights cleaning up the aftermath of a ‘budget-friendly’ DIY project gone wrong. If you use hardware cloth that’s too thin or skip the heavy-duty flashing at the base, you aren’t saving money; you’re just paying for a future vet visit or a very expensive search party when your cat finds the one weak spot you overlooked.”
Marlene Ostrowski
The Bottom Line on Your Catio
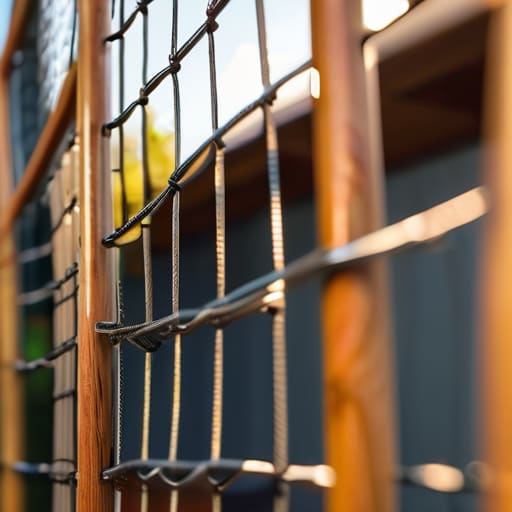
At the end of the day, building a catio isn’t about having the prettiest cedar finish or the most expensive custom-fitted door; it’s about structural integrity and preventing a disaster. You’ve learned that you can’t cut corners on the mesh, you can’t ignore the stability of the frame, and you absolutely cannot overlook the cost of high-quality materials upfront. I’ve seen too many people try to “fix” a flimsy enclosure after a cat has already managed to squeeze through a gap or tear a piece of cheap hardware cloth. It is much cheaper to buy the right gauge wire the first time than it is to pay for an emergency vet visit because your indoor cat decided to take an unplanned leap into the neighborhood.
Building this is an investment in your cat’s quality of life, and frankly, it’s an investment in your own peace of mind. When you’re sitting on the porch at night, you shouldn’t be scanning the yard wondering if your cat managed to slip out through a loose panel. A well-built catio gives them the enrichment of the outdoors without the life-threatening risks of predators, cars, or getting lost. It’s about giving them a window to the world that actually keeps them safe. Do it right, do it sturdy, and then go sit in the sun with them.
Frequently Asked Questions
How do I make sure my cat won't get stuck or injured if they try to squeeze through the frame or get caught in the door?
Listen, I’ve spent enough time pulling cats out of window screens and hardware cloth to know that “close enough” isn’t good enough. You need to sand every single joint until it’s smooth as glass; splinters are a fast track to an abscess. Most importantly, ensure your gaps are no larger than 2 centimeters. If a head fits, the body follows, and once they’re wedged, you’re looking at an expensive emergency vet visit for sedation.
What kind of weatherproofing do I actually need so this thing doesn't rot or become a damp, moldy mess that makes my cat sick?
If you use untreated pine, you’re building a coffin for your budget and a petri dish for mold. You need cedar or redwood—they handle moisture naturally. If you go with pressure-treated wood, make sure it’s modern ACQ treated; the old arsenic-based stuff is toxic if your cat chews it. Use exterior-grade screws and a high-quality, low-VOC sealant. Don’t skimp here; a damp, moldy enclosure leads to respiratory issues, and vet bills for asthma are no joke.
If I'm building this against my house, how do I prevent it from becoming a highway for raccoons or stray cats to get into my home?
If you’re bolting this to your siding, you aren’t just building a playground; you’re building a breach point. Raccoons are incredibly clever, and a stray cat will find any gap in your flashing or window screen. You need to use heavy-duty hardware cloth—not that flimsy chicken wire—and ensure your base is anchored into a solid foundation or buried a few inches deep. If there’s a gap between the structure and your house, they will find it.